
Baseboards may seem like a small detail in your home, but they have a significant impact on the overall look and finish of a room. They bring walls and floors together while adding a polished, professional touch. However, when it comes to handling baseboard corners, whether it’s an inside corner baseboard or outside corner molding, things can get tricky. The angles, cuts, and joints often confuse even experienced DIYers, making it one of the most common areas where mistakes show.
If you’ve ever stared at your baseboard trim corners and thought, “That doesn’t look quite right,” you’re not alone. Luckily, with the right approach, tools, and expert tips, you can handle baseboard corner molding like a pro. This guide breaks down everything you need to know about baseboard molding corners, from cutting techniques to installation tricks that guarantee clean results. Whether you’re tackling this as a DIY project or hiring help, these insights will save you time, stress, and money.
Why Baseboard Corners Matter More Than You Think
Baseboard corners aren’t just about aesthetics; they’re about function too. When corner molding is installed correctly, it seals gaps, prevents drafts, and keeps dirt from sneaking into hard-to-reach spaces. Clean baseboard corner trim also makes a room look more put-together and professional.
On the flip side, poorly handled molding corner joints stick out like a sore thumb. They can leave visible gaps, uneven edges, and create long-term maintenance issues. That’s why knowing how to handle inside and outside corner molding properly is essential for homeowners who care about both style and durability.
The Basics of Inside and Outside Corners
When dealing with baseboards, you’ll run into two main types of corners: inside and outside. Understanding the difference is the first step toward mastering the job.
- Inside corner baseboard: Found where two walls meet at an inward angle. These often require coping or miter cuts to fit seamlessly.
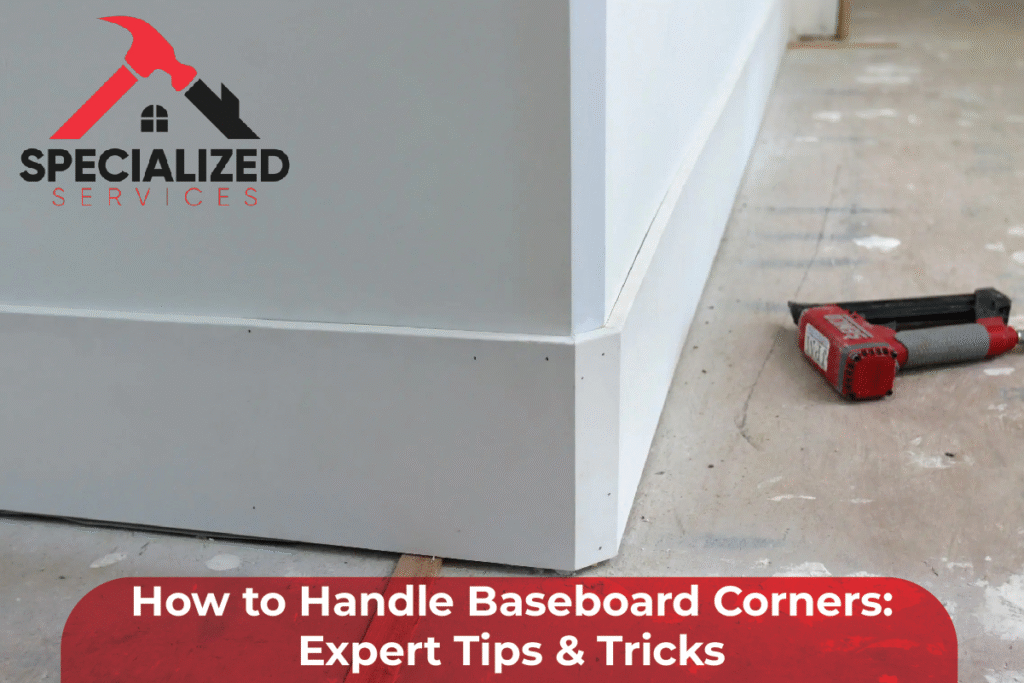
- Outside corner molding: Found where walls extend outward, like a hallway or column. These corners are more visible and require extra precision to look sharp.
Learning to recognize and plan for these corners helps you choose the proper cutting and fitting methods for baseboard trim corners to ensure a flawless look.
Cutting Techniques for Perfect Corners
The heart of baseboard molding corners is the cut. If the cut is off by even a degree, the joint won’t sit flush. For most projects, two techniques dominate: miter cuts and coping cuts.
- Miter cuts: Made at a 45-degree angle, these work best for outside corner molding where the cut edges meet. However, they must be precise to avoid visible gaps.
- Coping cuts: These are more common for inside corner baseboard installations. One board is cut straight, while the other is shaped to “cope” or fit snugly against it. This method creates tighter joints that resist movement from wall shifts or temperature changes.
If cutting feels overwhelming, hiring professionals for baseboard molding repair and refinishing in Wylie ensures your corners are handled with expert precision.
Tools You’ll Need for Flawless Results
No matter your skill level, the right tools make all the difference in corner trim molding projects. Essential tools include:
- A miter saw for accurate angled cuts
- A coping saw for shaping inside corners.
- Measuring tape and angle finders for precision
- A nail gun or hammer for secure installation
- Caulk and wood filler for finishing touches
Even with great tools, practice is key. Don’t be afraid to make test cuts on scrap wood before committing to your final baseboard corner pieces.
Tricks for Seamless Molding Corner Joints
Achieving professional results takes more than just cutting at the right angle. Here are some insider tricks to make your baseboard corner molding look flawless:
- Always measure twice, cut once. Even the slightest error can throw off your corner trim molding.
- Back-cut your coping. This helps the molding fit tighter and eliminates gaps.
- Caulk is your best friend. Use paintable caulk to fill small gaps for a seamless look.
- Sand before painting. Light sanding smooths out imperfections on baseboard trim corners.
With these tips, even tricky corners will look like pros installed them.
Common Mistakes to Avoid
Baseboard corners can be frustrating, and mistakes are easy to make. Avoiding these common errors can save you from headaches down the road:
- Forgetting wall imperfections: Walls are rarely perfectly square, so test your fit before nailing down.
- Skipping coping on inside corners: Miter-only joints often leave noticeable gaps.
- Overusing caulk: Caulk hides minor imperfections, but relying on it too much makes the work look sloppy.
When in doubt, consulting skilled contractors like Specialized Repair Services ensures your project gets done right the first time.
Choosing Between DIY and Professional Installation
Handling baseboard corner molding on your own can be rewarding, but it’s not for everyone. DIY is great if you’re comfortable with tools, have time to learn, and want to save on labor costs. However, it comes with risks, especially if you’re tackling complex corner molding installation for the first time.
On the other hand, hiring a window, door, or baseboard expert saves time and guarantees better results. Professional installers have the experience to handle tricky baseboard corner pieces and avoid the pitfalls most homeowners face. If you value long-lasting results, professional installation is often worth the investment.
Adding Longevity with Proper Maintenance
Once your baseboard trim corners are installed, maintenance keeps them looking sharp. Regular cleaning prevents dust buildup, while occasional touch-ups with paint or caulk handle wear and tear. For older homes, professional repair and refinishing services can bring worn molding back to life.
Don’t overlook your baseboards during larger projects, such as roof repair. Keeping all parts of your home well-maintained ensures consistency in appearance and quality.
Final Thoughts
Baseboard corners may look like small details, but they have a significant impact on the overall finish. With the proper cutting techniques, tools, and installation tricks, you can achieve clean, professional results. Whether you decide to DIY or hire professionals, investing time and care in your baseboard corner molding pays off in style, durability, and home value.
Remember: baseboards frame your walls like a picture frame does for art. And just like a reasonable frame, when the corners line up perfectly, the whole room looks better.
FAQs
Q1: What’s the best method for inside corner baseboard installation?
Coping cuts are usually best, as they create tight, long-lasting joints.
Q2: Do I need special baseboard corner pieces for installation?
Not always. While pre-made baseboard corner pieces can help, skilled cutting often eliminates the need for them.
Q3: Can I use caulk to fix gaps in baseboard molding corners?
Yes, but only for small gaps. Significant gaps require proper cutting or professional help.
Q4: Should I do it myself or hire professionals for corner molding installation?
If you’re experienced with tools, DIY is fine. For precision and longevity, professionals are a safer bet.
Q5: How do I maintain baseboard trim corners?
Clean them regularly, touch up paint as needed, and reseal caulk when cracks appear.